Most scrapbooking frustration has the same root: starting with supplies before you have a plan. You pull out paper, place a photo, add an embellishment, and then stare at the page wondering why it looks wrong. The issue is not your materials or your taste. It is the sequence — design decisions need to come before placement decisions.
Planning a layout does not mean eliminating spontaneity. It means building a structure within which spontaneity can work. A sketched plan takes five minutes and saves an hour of rearranging. With practice, planning becomes fast and intuitive enough that it stops feeling like extra work.
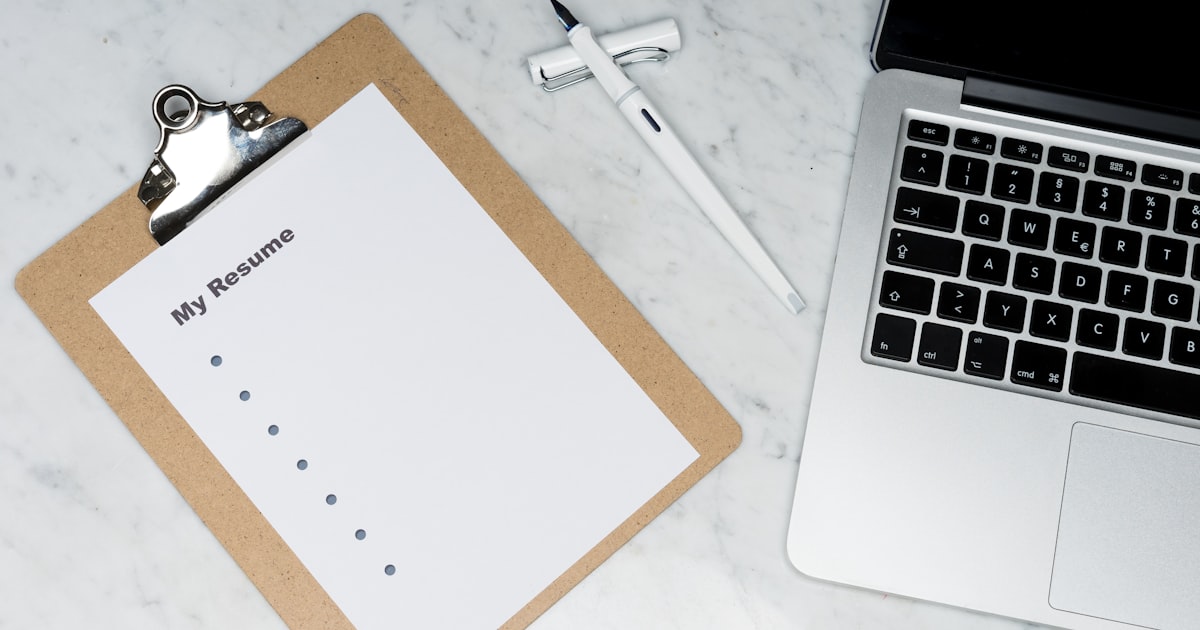
How to plan a scrapbook layout in 5 steps
- Choose the photo count before you choose the paper.
- Decide which image or cluster is the focal point.
- Sketch rough blocks for photos, journaling, and title placement.
- Choose a simple colour palette that supports the photos.
- Test embellishment zones before using adhesive.
Why sketching before you start works
A layout sketch is a simple pencil diagram — rectangles for photos, lines for journaling, rough positions for embellishments. It takes five minutes and resolves the fundamental question of where things go before any adhesive is involved.
Sketching removes the cognitive load of making placement decisions while also handling glue, scissors, and fragile photographs. With a plan in hand, you execute. Without one, you design and execute simultaneously, which is much harder and produces worse results.
Core design principles for scrapbook layouts
Visual hierarchy
Every layout needs a clear focal point — the thing the eye lands on first. This is almost always your most important photograph, usually the largest one on the page. Everything else should support rather than compete with that focal point. Embellishments that draw attention away from the main photo are working against the layout, not with it.
The rule of thirds
Divide your page into a 3×3 grid. The intersections of those grid lines are the strongest positions on the page. Placing your focal point at or near one of those intersections almost always produces a more dynamic result than centring it. This is the same principle used in photography composition and applies equally well to page design.
Balance without symmetry
Visual balance does not require placing identical elements on both sides of a page. A large photograph on the left can be balanced by a cluster of smaller elements on the right. A dense embellishment cluster in one corner needs open space or a light element in the opposite corner to feel settled. Aim for visual weight to be distributed, not mirrored.
White space
Experienced scrapbookers use empty space deliberately. An area of clean background paper between the photo and the edge of the page gives the eye room to breathe. Crowded layouts can work, but they require careful colour and scale management. When in doubt, leave more space than you think you need.
Using scrapbook sketches and templates
Scrapbook sketches are pre-designed layout diagrams published by designers and shared within the crafting community. They show photo placement, approximate journaling locations, and element clusters as simple line drawings. Using a sketch gives you a proven composition to work from rather than starting from scratch.
Sketches are not rigid. Swap landscape orientations for portrait. Combine two smaller photo boxes into one large one. Move the journaling block from bottom-left to bottom-right. The composition logic stays the same while the specific arrangement adapts to your photos and materials.
Scrapbook sketches vs scrapbook page templates
Sketches and templates are closely related, but they help at slightly different stages. A sketch is a loose planning diagram that shows where things might go. A template is usually more repeatable and fixed, useful when you want to recreate a page structure across several layouts. If you are still learning how to plan scrapbook layouts, start with sketches. If you want speed and consistency, move toward templates.
Single photo vs multi-photo layouts
Single-photo layouts place one strong photograph as the undisputed focal point. Everything else — journaling, embellishments, title — serves as supporting material. These layouts are faster to complete and tend to feel more graphic and deliberate. Use them when you have one exceptional photograph that tells the whole story.
Multi-photo layouts tell a more complete story by showing sequence, context, and multiple perspectives. The challenge is preventing visual chaos. Consistent photo sizing, aligned edges, and a single dominant photo within the group all help. A multi-photo layout with seven equally-sized, randomly placed photos is much harder to manage than one with three photos of complementary sizes in a deliberate arrangement.
Double-page spreads
A double-page spread treats two facing pages as a single design. The visual flow runs continuously across the gutter between them. This format suits events with many photographs — a holiday, a birthday party, a day out — and allows much more storytelling space than a single page.
Plan double spreads as a single sketch. The gutter will interrupt certain elements, so avoid placing critical subject matter directly across it. Design the two pages to connect visually — continuing a colour block, aligning a horizontal strip, or using matching elements in opposite corners.
"A layout that looks effortless usually took the most planning. The work of good design is making decisions invisible."
When to break the rules
Design principles exist because they describe what tends to work. They are not laws. A centred composition can be powerful when symmetry is the point. A crowded page can convey abundance and energy when that is the story. Knowing the principles gives you the vocabulary to break them deliberately, which is entirely different from breaking them by accident.
Quick answers about scrapbook layout planning
How do you plan a scrapbook layout? Start with the photo count, sketch the main blocks, place the title and journaling early, and only then move into paper and embellishments.
Are scrapbook sketches worth using? Yes. They remove a lot of blank-page hesitation and give you a composition that has already been thought through.
What is the easiest layout to plan for beginners? A one-photo or simple four-photo layout is usually the easiest because the focal point and supporting structure stay clear.