A scrapbook cover is the first promise your album makes. Before anyone sees the layouts, journaling, or photographs inside, the cover tells them what kind of story they are about to hold. It does not need to be complicated, expensive, or heavily decorated. It just needs to feel connected to the memory inside.
The best scrapbook cover ideas usually start with one clear decision: what should this album feel like? A baby book might feel soft and gentle. A travel album might feel layered and collected. A school album might feel bright and organised. Once that mood is clear, the title, colours, materials, and embellishments become much easier to choose.
Start with the story before the supplies
It is tempting to decorate the cover with every pretty paper and embellishment in reach, but the cover works better when it has restraint. Think about the album's purpose first. Is it a gift, a personal memory book, a family archive, or a seasonal album you will pull out once a year?
If you are still choosing the album itself, our beginner scrapbooking guide will help you decide on a format before you commit to a cover style. The size, binding, and material all affect what the cover can safely hold.
Try a title-first cover
A title-first cover is one of the simplest and strongest choices. Use the album title as the main design feature, then keep the rest of the cover quiet. This works especially well for family books, travel albums, school year albums, and projects with a clear date range.
Good title-first covers often use a plain background, a label shape, and one or two small accents. Alphabet stickers, die-cut letters, chipboard words, or hand lettering can all work. If naming the project is the hardest part, our scrapbook title ideas guide has plenty of prompts you can adapt for album names, cover titles, and page headings.
Use one photograph as the focal point
A photo cover immediately tells the reader who or what the album is about. It is a strong choice for baby books, pet albums, wedding albums, graduation albums, and travel projects. Choose one image with enough breathing room around the subject, then mat it on cardstock so it feels intentional rather than pasted on.
For covers that will be handled often, protect the photograph with a clear overlay, frame, or laminated pocket. Avoid putting an irreplaceable original photo on the outside of an album. Use a copy, especially for heritage projects or older family pictures. If the image matters deeply, read our guide to preserving old photos for scrapbooking before you attach anything permanently.
Layer patterned paper without making it too busy
Patterned paper can make a cover feel warm and handmade, but it can also overwhelm the title quickly. Choose one main pattern, then support it with quieter cardstock, vellum, or a small border strip. If the cover already has a large title, keep the pattern low-contrast. If the title is small, you can let the pattern carry more personality.
Our guide to choosing scrapbook paper is useful here because cover paper needs to be sturdier than a light decorative layer. Cardstock, heavyweight patterned paper, and wrapped chipboard all hold up better than thin paper on a cover that will be touched often.
Add texture carefully
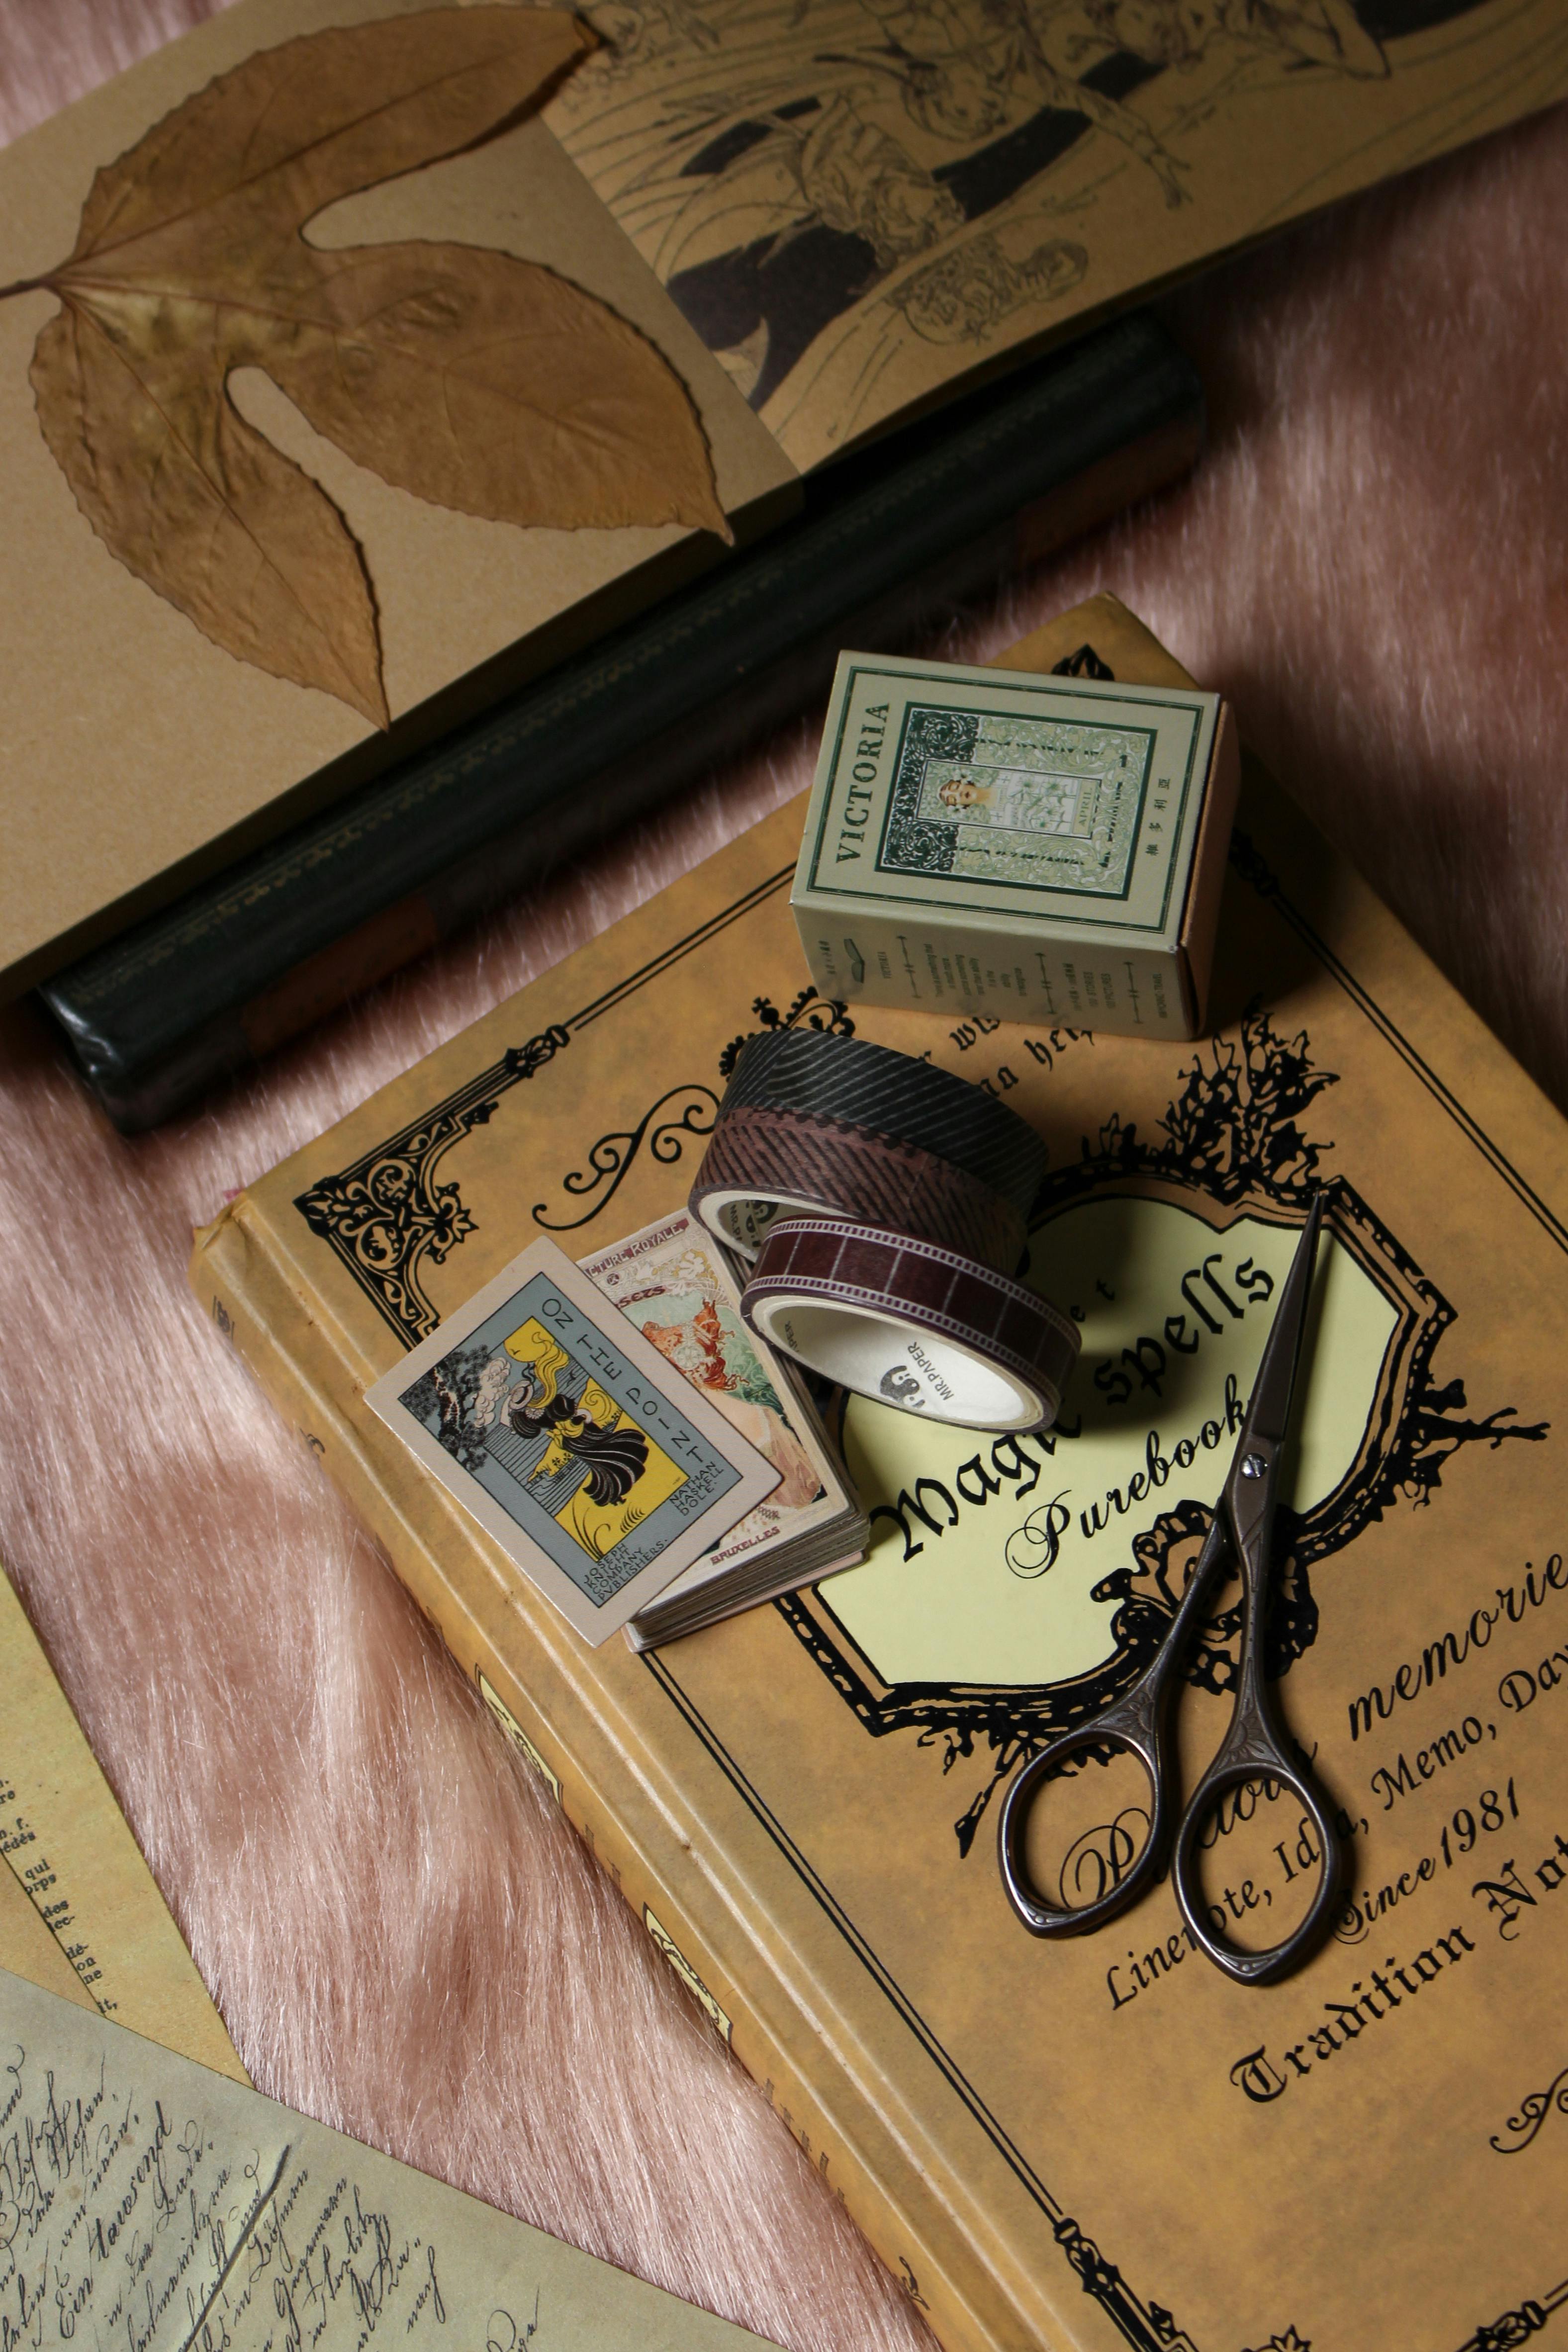
Ribbon, fabric, lace, stitched borders, buttons, brads, and twine can all make a scrapbook cover feel special. The trick is to keep dimensional pieces away from the edges and spine. Covers rub against shelves, hands, tables, and storage boxes, so anything raised too high can catch, bend, or fall off.
Flat texture is usually safer than bulky texture. Try stitched paper strips, fabric tabs, a wrapped ribbon band, embossed cardstock, or a small cluster of brads near the title. If you like tactile embellishments, our scrapbooking brads guide shows how to add metal details without overbuilding the page.
Match the cover to the album theme
A themed cover does not need to be literal. A travel scrapbook does not need a suitcase sticker, and a baby album does not need to be covered in pastel animals. Often, a colour palette and one meaningful detail feel more polished than a fully themed cover.
- Travel albums: use map paper, kraft labels, ticket-style tabs, or a small route line.
- Birthday albums: use one bold number, a party colour palette, or a title based on the person's age.
- School albums: use year labels, ruler-style borders, lined paper, or a class photo copy.
- Family history albums: use muted cardstock, copied handwriting, a family name label, or a simple date range.
- Wedding albums: use fabric, vellum, initials, a date, or a quiet metallic accent.
If the album is part of a larger themed project, link the cover back to the story inside. A cover for a travel scrapbook can echo the route or destination. A cover for a school year scrapbook can use the school year and grade as the main design feature.
Make the cover durable enough for real use
Even a beautiful cover needs to survive being handled. Use strong adhesive, burnish paper edges well, and avoid loose corners. If you wrap paper around chipboard, fold the corners neatly and reinforce the inside cover with a clean liner sheet. If you add ribbon, secure it under a paper layer rather than relying on glue at the edges.
Heavy embellishments need stronger attachment than ordinary paper layers. Glue dots, brads, stitching, or a strong liquid adhesive may be safer than a light tape runner. Our scrapbooking adhesives guide explains which adhesive to use for heavier materials.
Common cover mistakes to avoid
Most cover problems come from making the outside too fragile. Thin paper peels. Raised flowers crush. Loose ribbon catches. Pale paper gets dirty quickly. A title placed too close to the edge can wear away before the album is even full.
The safest cover designs usually have a clear title, a strong focal point, and most of the delicate decoration set slightly in from the edges. That still leaves plenty of room for personality, but it gives the album a better chance of staying beautiful.
"A good scrapbook cover does not need to show everything inside. It only needs to invite the reader into the story."
A simple cover formula that works
If you are not sure where to start, use this formula: plain or subtle background, matted title, one small photo or embellishment cluster, and one repeated colour from the pages inside. It is easy to adapt and hard to overcomplicate.
Once the cover is finished, let the album rest flat overnight if you have used liquid adhesive or wrapped paper. The cover is the part people touch first, so giving it time to dry properly is worth the patience.